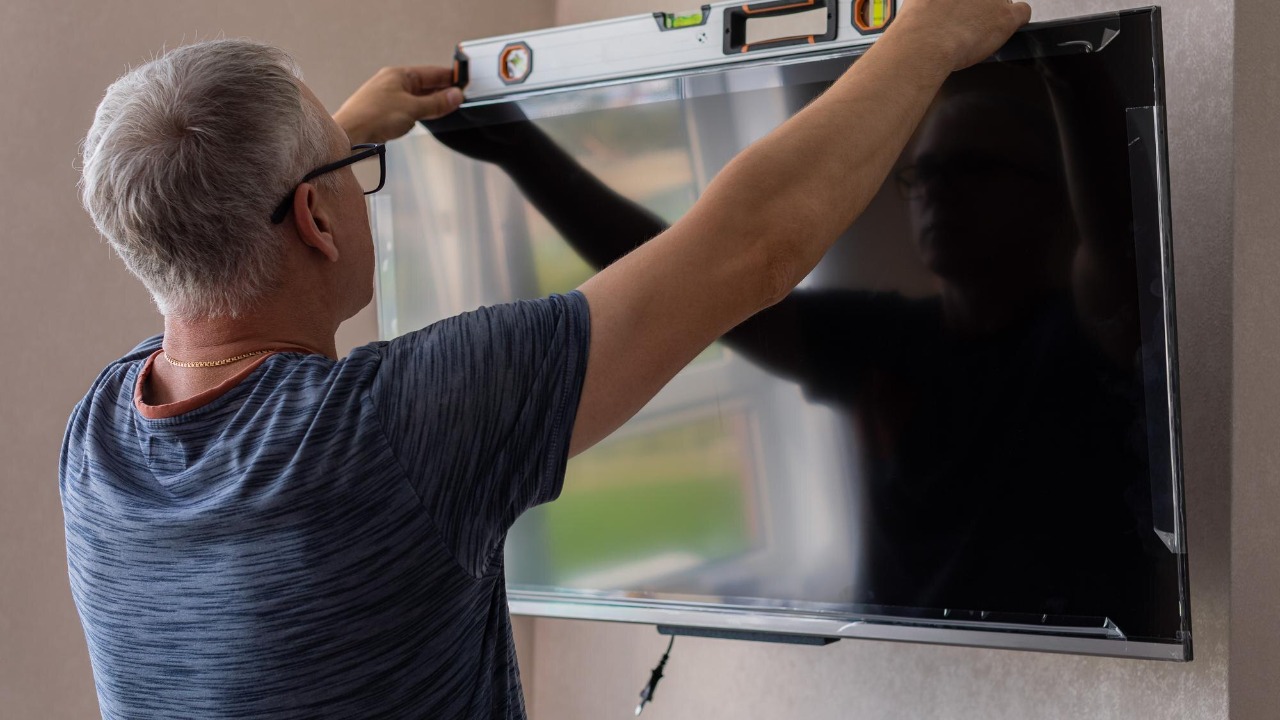
Transforming an old TV into a smart mirror using a Raspberry Pi is a cost-effective DIY project that can repurpose unused electronics into interactive displays. This approach builds on broader screen-sharing techniques, such as mirroring your smartphone or tablet on your TV, which can enhance the mirror’s functionality by casting content from mobile devices.
What Is a Smart Mirror?
A smart mirror is a reflective surface that displays digital information like time, news, or apps when activated. This innovative concept draws from DIY projects that repurpose TVs for this purpose. An old TV serves as the base by overlaying a two-way mirror film to hide the screen when off, creating the illusion of a regular mirror. This space-saving home tech upgrade allows you to utilize your devices without having to purchase new ones, making it a practical and cost-effective solution.
Why Use Your Old TV for This Project?
Repurposing an old TV into a smart mirror offers environmental advantages by reducing e-waste. Older TVs can be revived into multifunctional gadgets, contributing to a more sustainable lifestyle. Additionally, the cost savings compared to purchasing a dedicated smart mirror, which often exceeds $200, are significant. The aesthetic and practical appeals of integrating a smart mirror into bathrooms or bedrooms for daily routines further enhance its value.
Gathering the Necessary Materials
The essential hardware for this project includes a Raspberry Pi (model 4 recommended for performance), a compatible old TV (flat-screen LCD preferred for clarity), and two-way mirror film or tint. On the software side, the MagicMirror² open-source platform is needed for displaying widgets such as weather and calendars. Optional add-ons like a motion sensor for touchless activation can enhance interactivity and provide a more seamless user experience.
Preparing the TV and Raspberry Pi Setup
Disassembling the old TV safely to access the screen is the first step in this process. It’s crucial to ensure the TV is powered off and unplugged throughout this process. The Raspberry Pi is then connected to the TV via HDMI for video output, and the SD card is set up with Raspberry Pi OS. Initial configuration of the Pi includes establishing a Wi-Fi connection and enabling SSH for remote control.
Applying the Mirror Film and Assembly
Measuring and cutting the two-way mirror film to fit the TV screen precisely is a critical step. Care must be taken to avoid bubbles during application. The TV frame is then reassembled around the filmed screen, and the Raspberry Pi is mounted internally if space allows. Basic functionality is tested by powering on the setup to verify that the mirror effect hides the display when idle.
Installing and Customizing Software
Downloading and installing the MagicMirror² software on the Raspberry Pi provides the core smart features. Modules can be added for personalized content, such as calendar sync or news feeds, via the config file. Troubleshooting common issues like display resolution mismatches ensures smooth operation and optimal user experience.
Integrating Phone Mirroring for Enhanced Features
Enhanced features can be achieved by integrating phone mirroring. Android users can mirror their device on the TV using built-in casting to project apps onto the smart mirror. There are also three easy ways to mirror an Android phone to a TV, including Chromecast or third-party apps for video and photo sharing. iPhone owners can mirror their device to a TV via AirPlay, enabling wireless screen sharing for recipes or workouts on the mirror surface.
More from MorningOverview