
Recent guidance from Mashable and ZDNet underscores the importance of enabling Android’s Private DNS mode to protect against eavesdropping on internet queries. Earlier insights from Trend Micro and Kaspersky further emphasize its role in securing DNS across platforms, including Android.
What is Private DNS Mode?
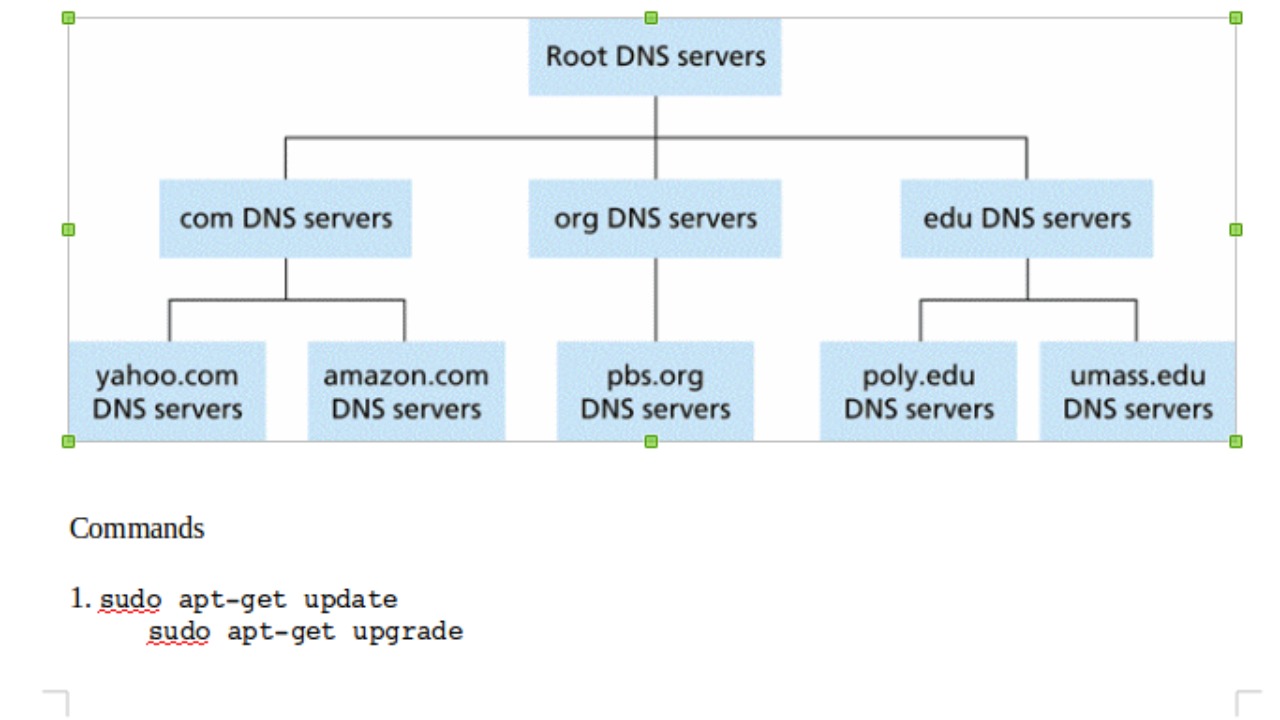
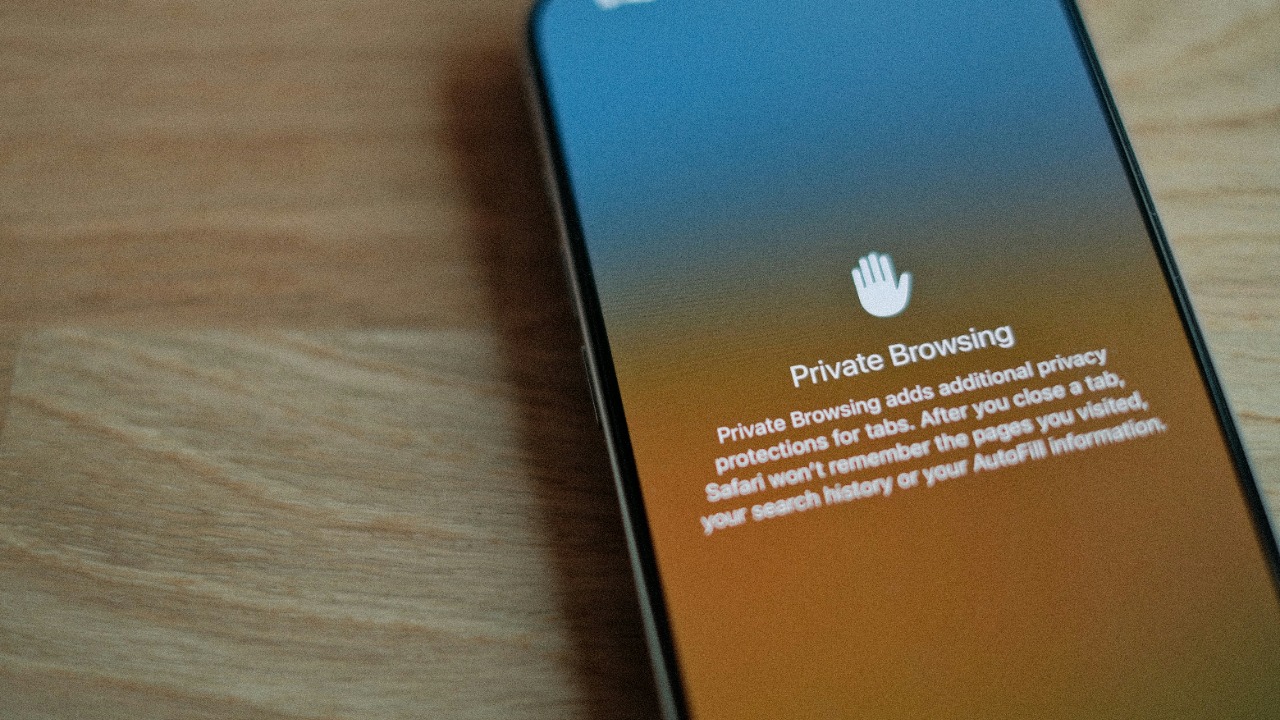
Private DNS mode, as its name suggests, provides a private channel for your DNS queries to travel through. This is achieved by using encryption protocols such as DNS over TLS (DoT) or DNS over HTTPS (DoH). These protocols ensure that your DNS queries are encrypted before they leave your device, making it impossible for anyone to see what websites you’re trying to access. This is a significant upgrade from the traditional DNS system, which sends queries in plain text, easily readable by anyone with access to the network. This feature has been available on Android devices since the release of Android 9, also known as Android Pie, as per ZDNet and Trend Micro.
Why Private DNS Enhances Your Online Privacy
Private DNS provides a layer of privacy that was previously unavailable to the average internet user. By encrypting your DNS queries, it ensures that only you and the DNS server know what websites you’re visiting. This is particularly important when using public Wi-Fi networks, where your internet traffic can be easily monitored by others. Furthermore, Private DNS can help protect against DNS spoofing, a type of attack where a hacker intercepts your DNS queries and redirects you to a malicious website. By using Private DNS, you can ensure that your internet traffic is secure and private, even when using public Wi-Fi networks, as highlighted by Mashable and Kaspersky.
Security Risks Without Private DNS Enabled
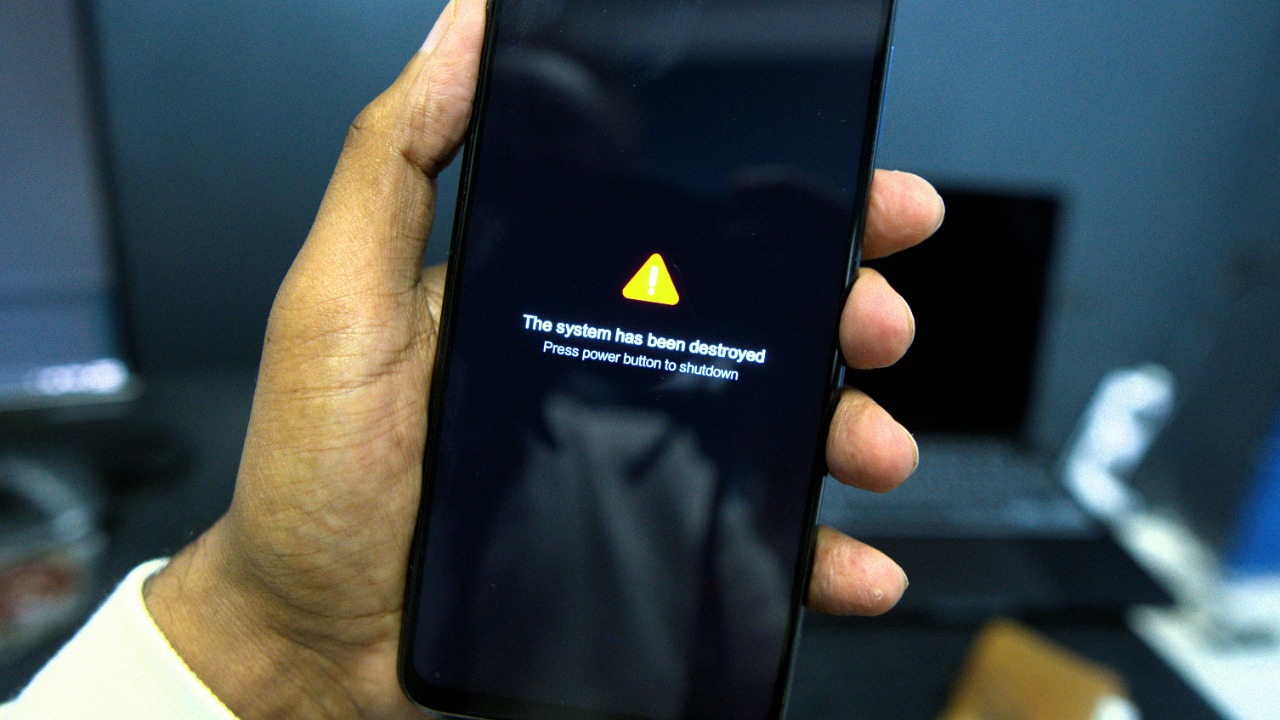
Without Private DNS, your internet traffic is vulnerable to a variety of attacks. One of the most common is a man-in-the-middle attack, where a hacker intercepts your DNS queries and can redirect you to a malicious website. Additionally, without Private DNS, your ISP can easily monitor your internet activity, potentially violating your privacy. Hackers can also use DNS spoofing to trick your device into connecting to malicious servers, potentially leading to malware infections or data theft. These risks are particularly prevalent in today’s mobile-centric world, where many people use their smartphones for sensitive tasks like online banking or shopping, as reported by ZDNet and Trend Micro.
Step-by-Step Guide to Enabling Private DNS on Android
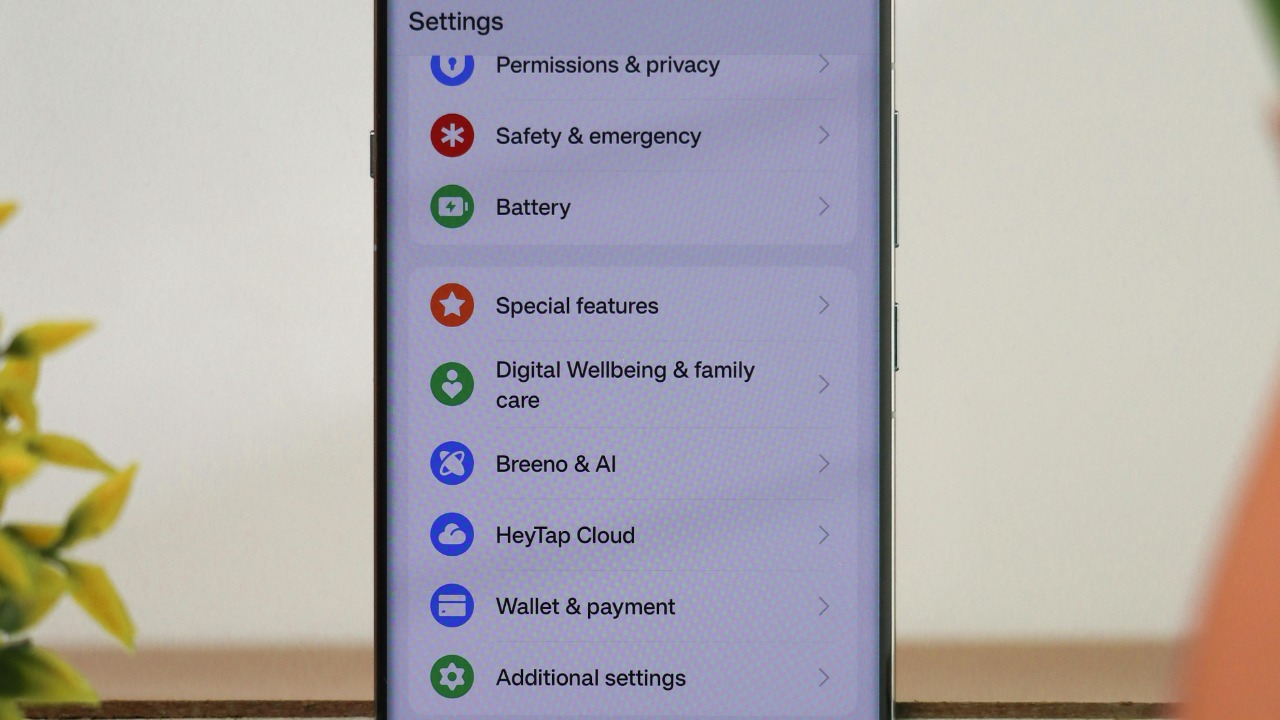
Enabling Private DNS on your Android device is a straightforward process. First, navigate to the ‘Network & Internet’ section of your device’s settings. From there, select ‘Private DNS’ and then ‘Private DNS provider hostname’. Here, you can enter the hostname of your chosen DNS provider. Once you’ve entered the hostname, simply toggle the switch to ‘On’ to enable Private DNS. If you’re using an older version of Android that doesn’t support Private DNS, there are still ways to secure your DNS queries, such as using a VPN or a third-party app that provides DNS encryption. These steps are outlined in detail by Mashable and ZDNet.
Choosing the Right DNS Provider for Your Needs

Choosing the right DNS provider is crucial for ensuring your online privacy and security. There are many factors to consider when choosing a DNS provider, including their logging policies, the locations of their servers, and their commitment to user privacy. Some providers, like Google Public DNS, prioritize speed and reliability, while others, like Cloudflare’s 1.1.1.1, focus on privacy and security. It’s also important to consider whether the provider offers additional features, such as malware blocking or support for DNS over HTTPS (DoH). Ultimately, the best DNS provider for you will depend on your specific needs and priorities. Both Kaspersky and Trend Micro provide guidance on how to choose the right DNS provider.
How to Switch DNS Providers Easily

Switching DNS providers is a simple process that can be done directly from your Android device’s settings. To switch providers, navigate to the ‘Private DNS’ section of your device’s settings and enter the hostname of the new provider. Once you’ve entered the new hostname, simply save your changes to switch to the new provider. If you encounter any issues after switching providers, you can easily revert to your previous settings or switch to automatic mode. For more advanced users, there are also apps and ADB commands that can be used to manage DNS providers, as suggested by Mashable and ZDNet.
Maintaining and Troubleshooting Private DNS

While Private DNS is generally reliable, you may occasionally encounter issues such as slow loading times or app incompatibilities. If you’re experiencing slow loading times, it may be due to your DNS provider’s servers being overloaded or located far away from you. In this case, switching to a different provider or clearing your device’s DNS cache may help. If you’re experiencing app incompatibilities, it may be due to the app not supporting DNS over HTTPS (DoH) or DNS over TLS (DoT). In this case, updating the app or contacting the app’s developer may resolve the issue. Regardless of the issues you’re experiencing, it’s important to regularly review your DNS settings and keep your device updated to ensure optimal performance and security, as recommended by Trend Micro and Kaspersky.